|
|
|
| Embroidery | |

|
|
| As of 8/10/2006 | |
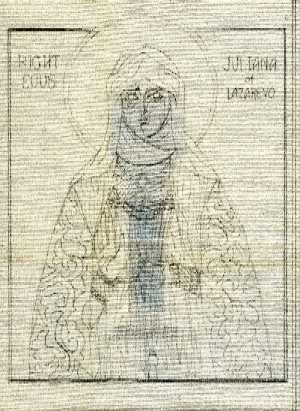
| Using parchment/tracing paper, do line drawing of icon using permanent dark black pen.
Drawing should be main features such as outline of robe, hands, face, veil, major shading areas, etc..
Embroidery pattern cannot be as detailed as to shading in written icon. Make sure
this pattern is large enough to allow embroidery work. You might have to size up from original
icon. The gray areas seen on both patterns are not part of pattern, but result of scanning from computer.
This finished pattern will be placed under material and using a light board, or window, or bright room lighting, you should be able to see lines through material. Once transfer to material is done, remove paper pattern. Save pattern for future use. |
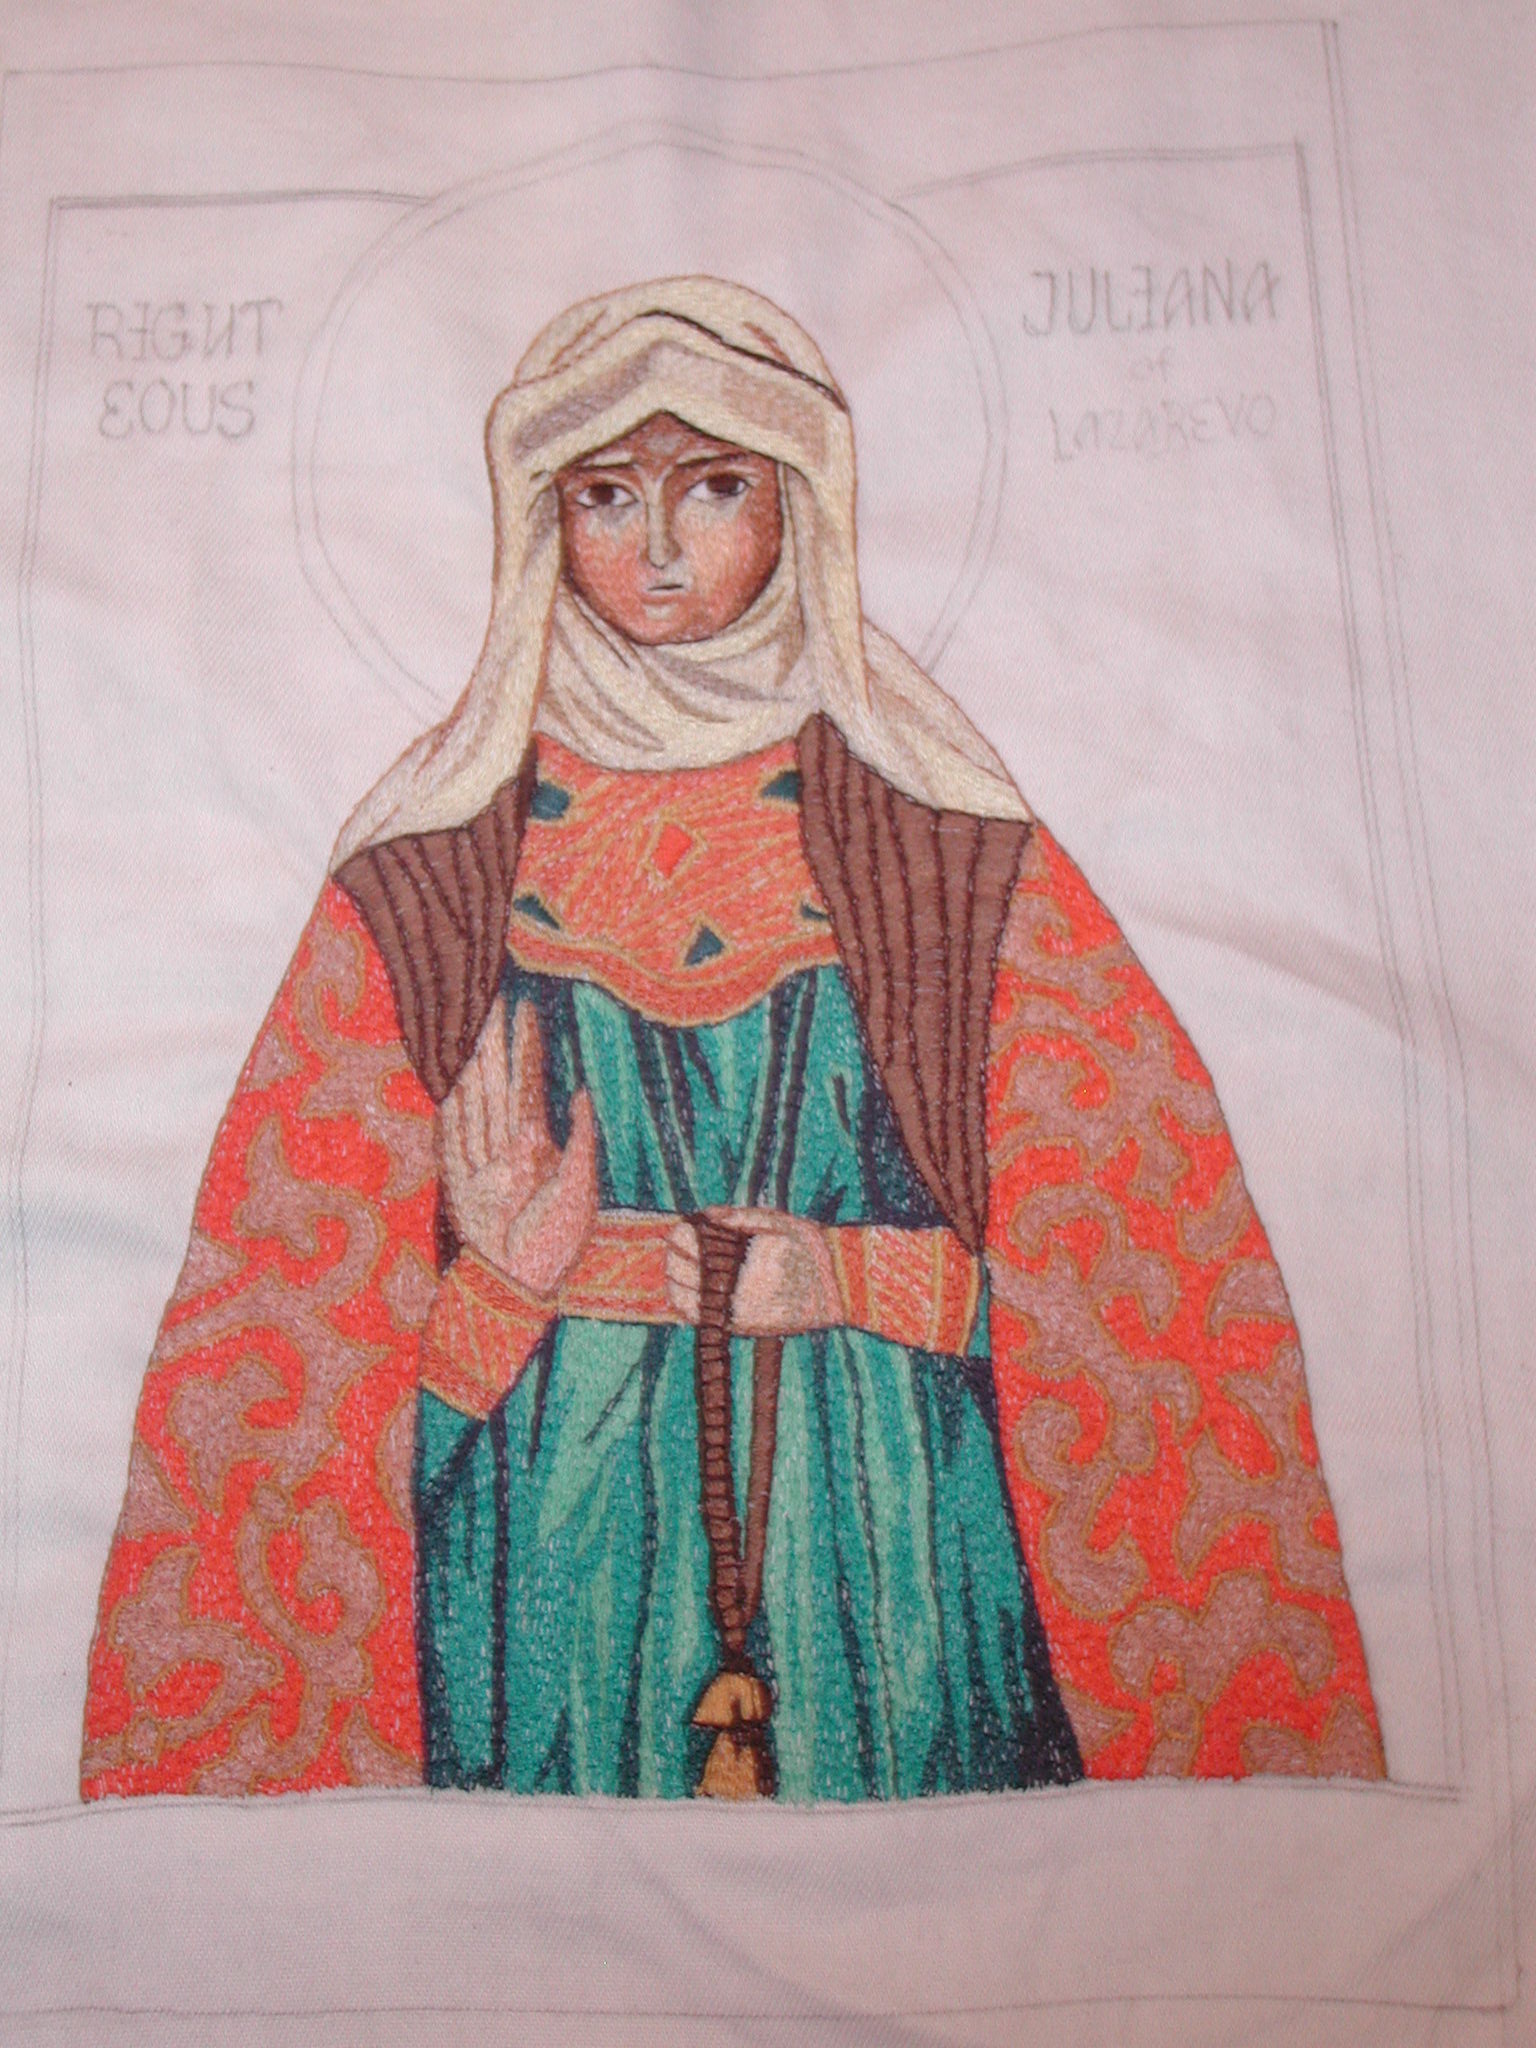
I used medium white broadcloth as base for embroidery work. Place cloth over drawn pattern and secure or tape in place allowing at least 2 inches extra material from embroidered border. This is for stretching of icon on wood stretcher frame. In this icon you can tell I drew with number 2 pencil, but you can use dressmaker marking pencils if you wish. Be aware red dressmaker pencil will bleed onto white fabric, so I use number 2 pencil. For this icon the detail in the cloak was too much and in fabric rendering I only transferred one line drawing of design. Use color icon to choose thread colors. Chain stitch works best for all stitching using satin stich for things like the gold pattern in cloak. Hope this helps who have asked to do pattern and transfer. I always embroidery from center of design out. Therefore, face would be done first, then hands, and veil. |
|
|
| As of 10/11/2006 | |
|
|
| As of 11/05/2006 | |
|
|
| As of 11/17/2006 | |